Understanding non-respondents better: Additional filter features for drop-out analysis available in questfox
Posted: 1. August 2018 Filed under: Project Management, Technology | Tags: Drop-out, Non-Response, Quota-full Leave a commentNormally researchers tend to analyse the data of completed interviews. As we are integrating more and more different technologies causing drop-out problems of a technical background we updated the filter setting for report groups inside of questfox.
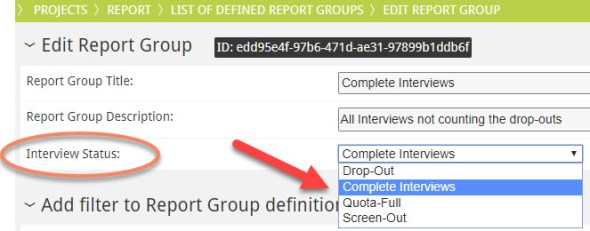
From now on it is possible to set a filter to a different completion status of the interview. questfox offers filters for drop-outs, screen-outs and quota full candidates as a filter setting inside the definition of the report groups.
As always: The groups can be defined before starting the interviews so can see your sample grow and analyze potential issues earlier.
Hoping that you can understand the non-respondents better with these new features.
Here is how to define the settings. Please remember to click REFRESH after changing the settings and then SAVE
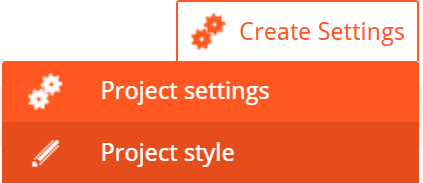
Cascading Style Sheets (CSS) on Project Level
Posted: 30. September 2011 Filed under: Project Management, Technology | Tags: CSS; Cascading Style Sheet Leave a commentCSS – Cascading style sheets are now implemented into questfox.
The rules are cascading too.
It is wise to define the style on the project level an NOT manually changing entries on a page.
A general non-specific questfox style sheet is applied if you do not change anything at all.
You can then define your client areas style sheet which will affect the formatting of all projects of your client area.
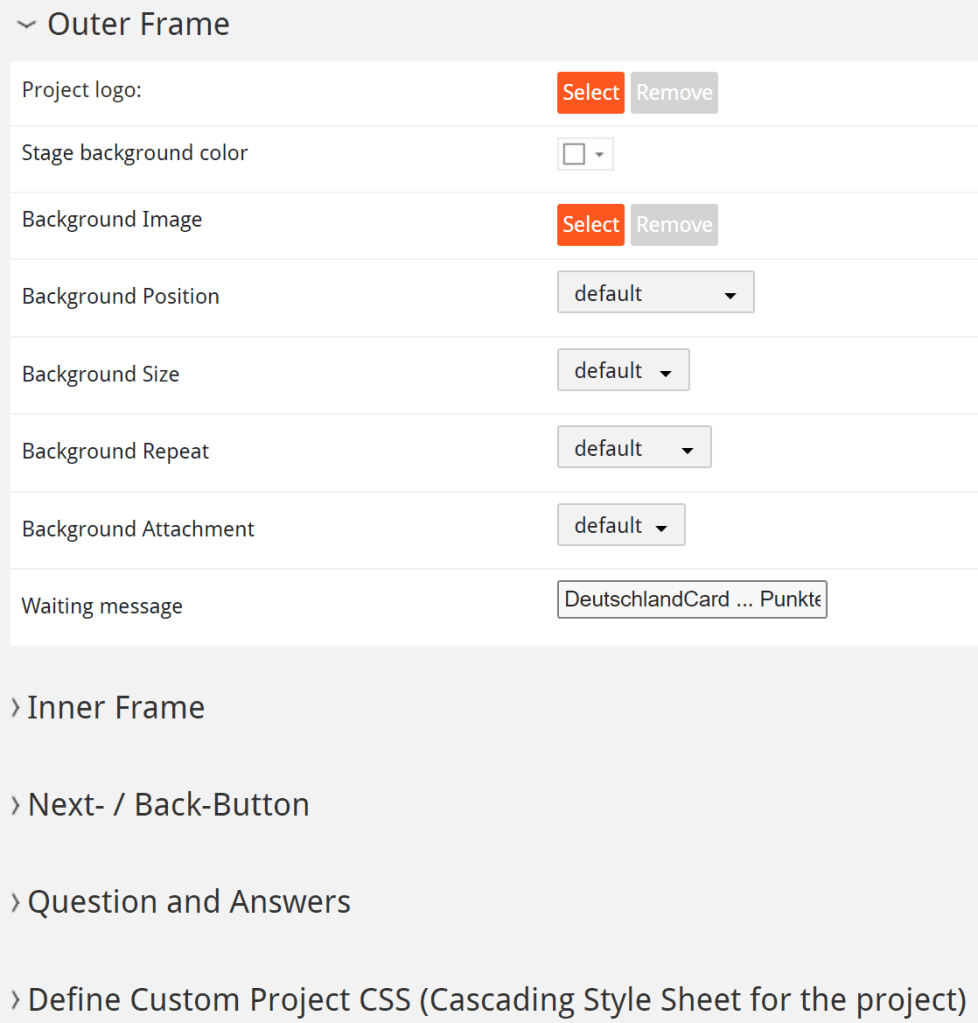
Inside each project you can define specific formatting styles just for this project.
Cascading means, that the design is rolling down into your project from above. If you define something specific on one page this is breaking the CSS rules.
On every level you can code the CSS right away into questfox

answerCtrl.answer.title
body {
font-size: 1.2em;
font-weight: bold;
font-family: ‘Open Sans’, sans-serif;
}
.answerItemLabel {
color: black;
font-weight: bold;
font-size: 1.2em;
}
.matrixbutton{ padding:10px!important; }
body {
background-repeat: space;
background-size: cover;
font-weight: bold;
}
.qa_question_text_left{
font-size: 0.9em;
color:#293038;
font-weight: bold;
}
.qa_question_text_right{
font-size: 0.9em;
color:#293038;
font-weight: bold;
}
.answerTitle {
margin-top: 1.6em;
font-size: 1.2em;
font-weight: bold;
}
.btnNext button {
font-size: 1.5em;
letter-spacing: 1px;
text-align: center;
text-decoration: none;
text-transform: uppercase;
}
.questionText > span > p{
font-size: 1.4em;
font-weight: 600;
}
.questionText > span > p{
font-size: 1.4em;
font-weight: 600;
}
/* Setting Color of MARKED item */
.singlechoice.active::after, .matrixbutton.active::after, .pic.active::after {
border-right-color: #380E31;
border-top-color: #380E31;
}
body {
background-color: #ffffff;
}
.textarea{
font-size:1.3em
background-color: #dddddd;
}
Finally it is still possible to define single elements by using an HTML code directly in the specific element.
Wishing you more stylish projects with questfox in the near future.
Project Management Improvement in Preview
Posted: 29. September 2011 Filed under: Project Management | Tags: Preview Leave a commentWhen using the preview function you will experience a text box underneath the question page. In order to control the live questionnaire, you can type in your comments which will be saved inside the question page.
While working inside the questionnaire you will find all the comments of all the previews (Even from different people)
In the project overview you will also see the comments added to your questions.
An extra Link to make your preview accessible to people without a questfox login will follow after some testing of this new feature.
